Our special projects editor (and resident Weekend Decorator), Megan Pflug, is back with her latest crazy-cool DIY solution.
Like so many other older buildings, Glen and Louise’s 1890s home has seen some less-than-thoughtful renovations over the years, leaving their bathroom looking dated and lackluster. When I first saw the space this summer I knew it had potential. By focusing on a few simple upgrades, I was able to transform the space without the bathroom ever being out of commission or breaking the bank. See how this contractor-free renovation went down in a matter of days with a little planning and some creative problem-solving.
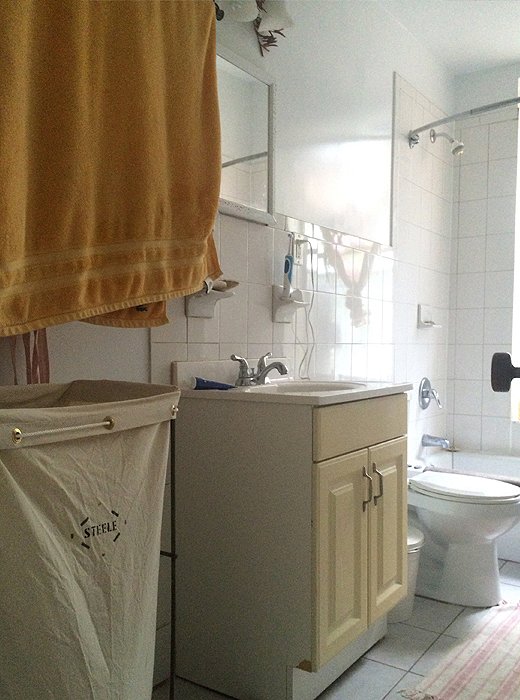
BEFORE
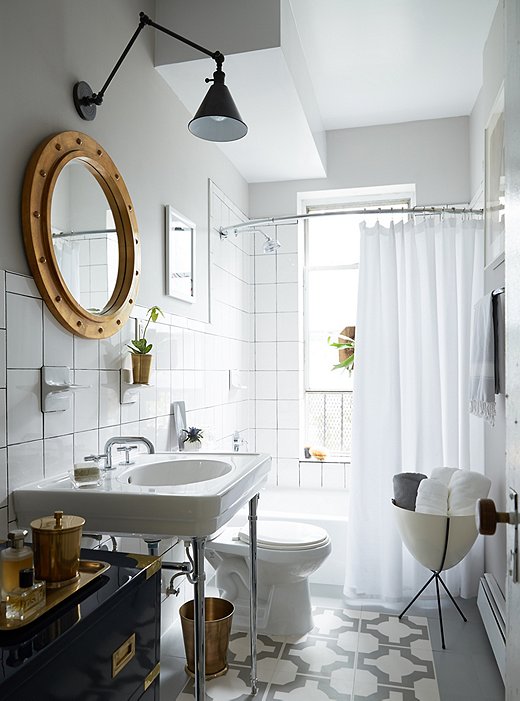
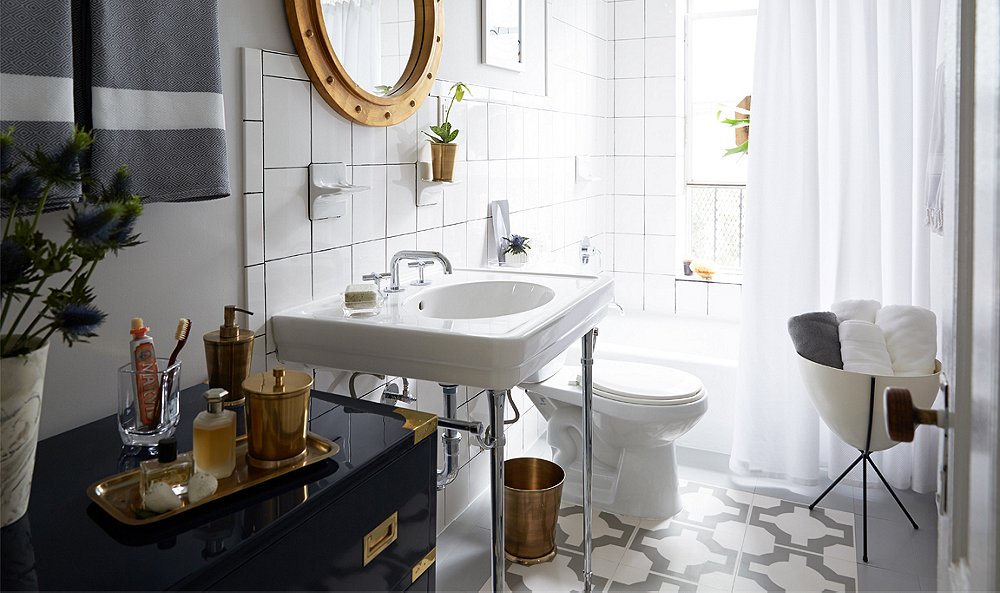
AFTER
Step 1: Out with the Old
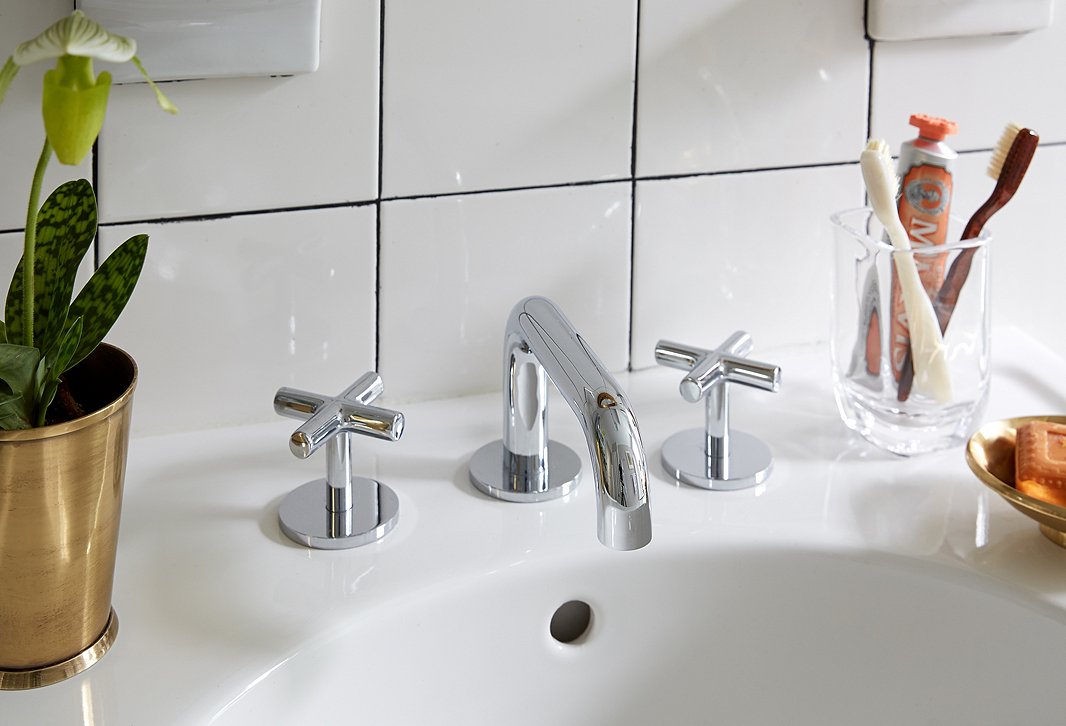
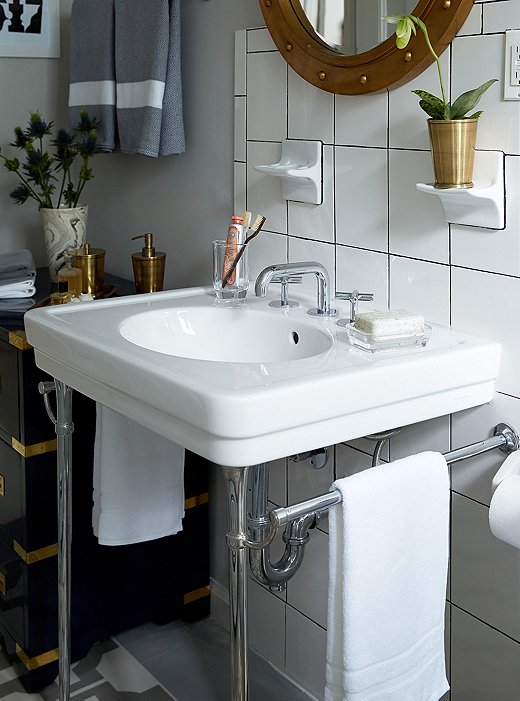
The most costly and time-consuming part of a bathroom renovation is relocating plumbing and electrical fixtures. The demo involved can leave the space unusable for weeks, with walls that need repair and tiles that need replacing. So I decided to leave the existing bathroom layout in place but replace the sink and tub fixtures. After some careful measuring to make sure everything would fit, I ordered a new sink and faucet to replace the existing boxy cabinet and dated fixture.
Step 2: Call in the Pros
With my fixtures on the way my next move was to hire a plumber to handle the install. I know what you’re thinking: “But this is a DIY!” After countless DIY projects, I’ve learned that knowing when to delegate is the most valuable DIY skill to have in your tool belt. In one day the plumber removed the old vanity and installed our new sink, something that would have taken me weeks to do on my own. If you’re confident replacing plumbing, though, then by all means go for it!
Step 3: A Bit of Problem-Solving
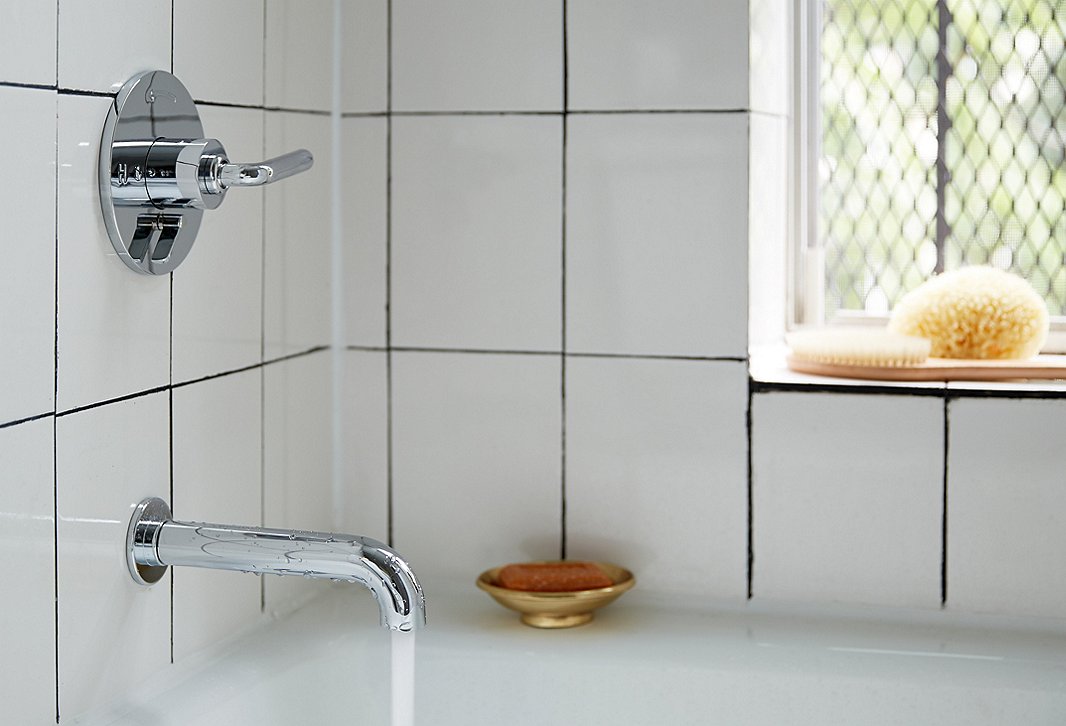
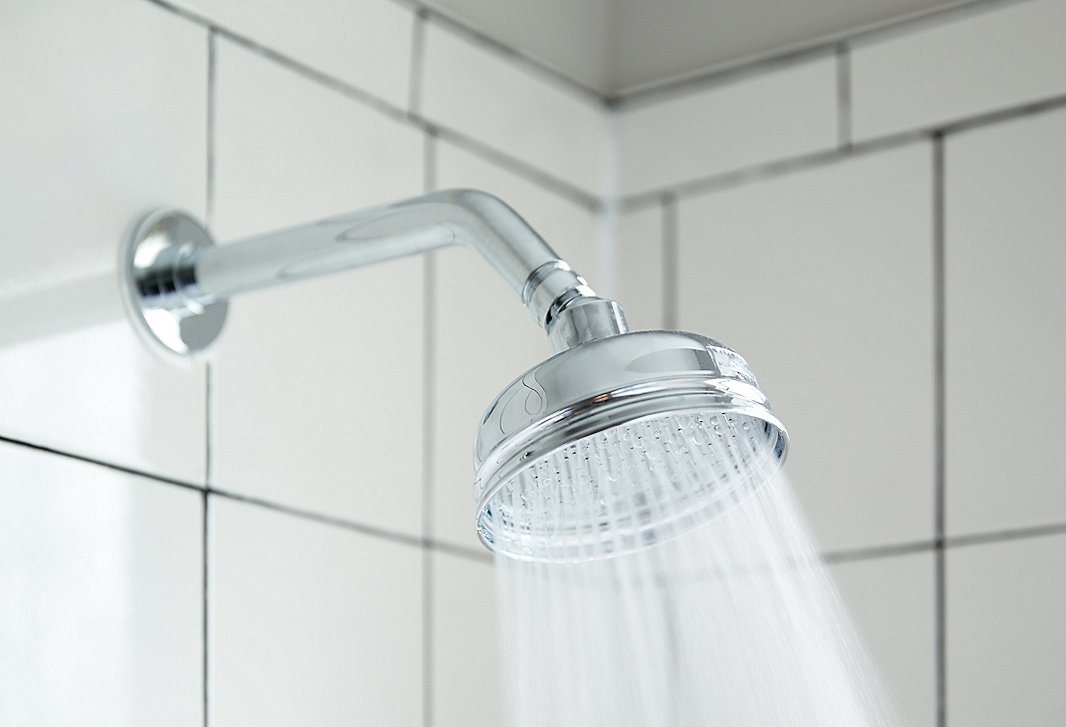
Our plumber also replaced the shower fixtures. It turned out that in order to swap out the shower hardware we also needed to replace a valve behind the wall. That sounds scary, but it’s not, especially when you hire a pro to do it for you! I provided our plumber with a few extra tiles, and he was able to open up the wall, change the valve, and patch it with matching tiles. Because our tile was so basic, finding a few matching ones at the home improvement store was an inexpensive and easy fix.
Tip: To make sure your plumbing appointment is efficient, discuss everything in detail with your plumber before he or she gets started; you might even want to schedule a quick consultation before install day. That way you know you have the correct hardware on hand and can avoid delays.

Step 4: A Quick Tile Fix
With the plumbing fixtures updated I turned my attention to the tile. If budget and time were no object, Glen and Louise would have preferred to replace the tiles with a more interesting option. In reality, however, that option was out. On the upside, the tiles were in good shape and relatively inoffensive. To add a little graphic oomph, I used a paint-on grout dye to darken the existing white grout lines.
The process of dyeing grout is really simple: You paint the product on and then wipe away the excess with a paper towel or a rag. Don’t worry; the dye stains only the grout joints. I found that working on small sections of wall works best. If you try to cover too much space at a time you’ll end up really needing to scrub to get the dye off.
Tip: If black grout is not your thing, the dye also comes in a number of other colors, including gray.

Step 5: Easy-to-Install Flooring
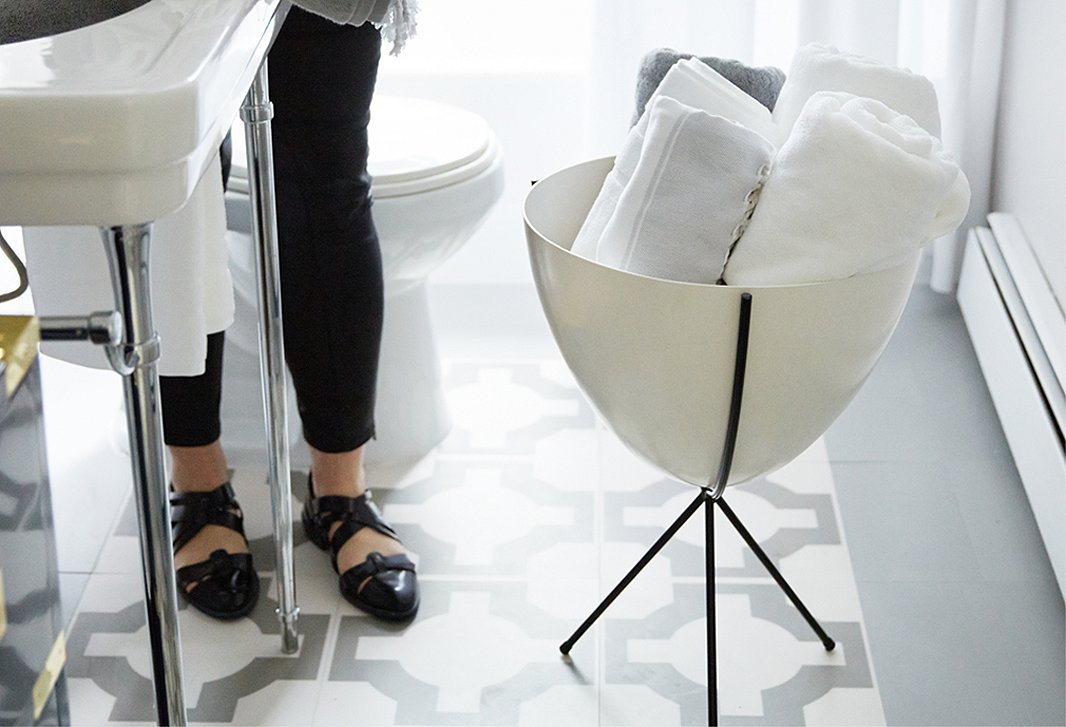
Like the wall tiles, the flooring was in pretty solid shape but far from stylish. So with the help of a gorgeous line of linoleum tiles I gave the bathroom floor a major upgrade. There are some really huge advantages to working with linoleum. For starters, installing it is supereasy, and you need only a utility knife to cut it and a little contact cement to hold it in place.
I used two kinds of tile, one solid and one patterned. I arranged the tiles so that the patterned ones were in the center and the solid tiles formed a border around the edges. Harvey Maria, the maker of these tiles, has a lot of great information about instillation on its website and even a few really helpful video tutorials!

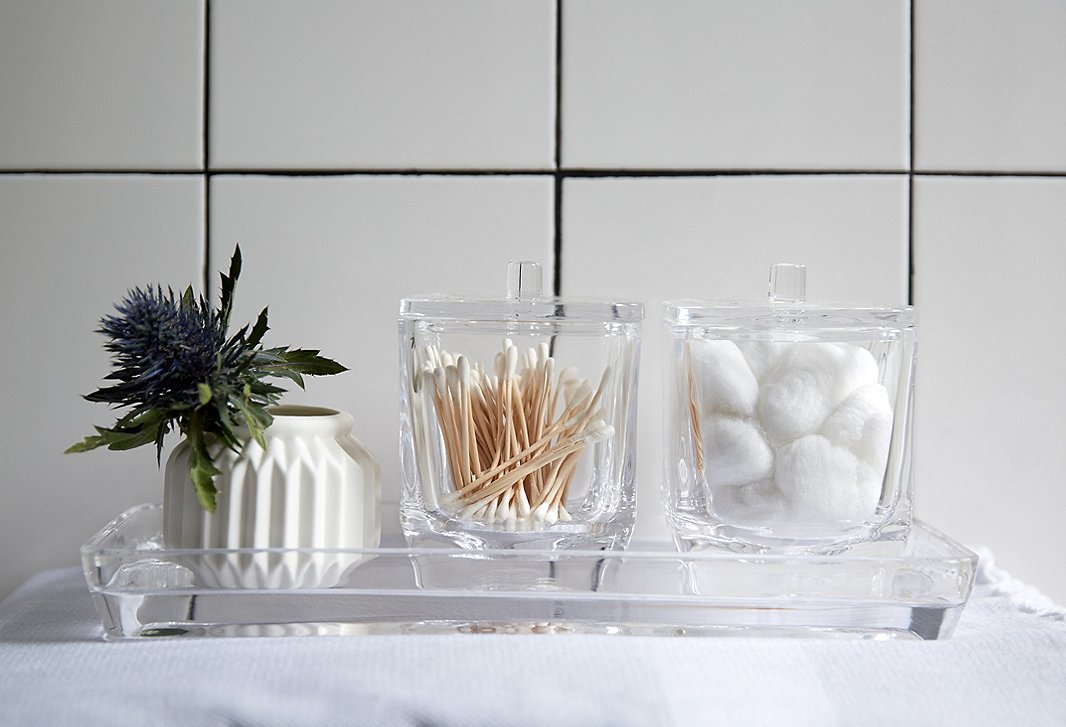
Step 6: Creative Storage Solutions
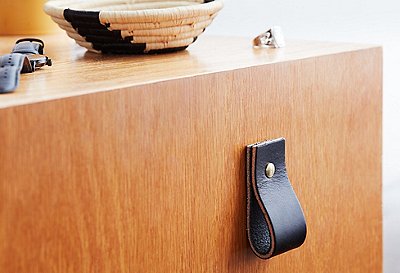
While the previous cabinet below the sink did provide more storage than the new pedestal sink, it still wasn’t enough. I added a glossy blue campaign dresser that more than compensates for the storage we gave up with the cabinet—and it also provides additional counter space! When looking for nontraditional bathroom storage options, scale is everything. This piece is actually a bedside table.
For additional storage I used a midcentury-inspired planter to store rolled towels. Planters are an unexpected alternative to the average storage basket, and this one is waterproof, so it’s a perfect solution for next to the tub.
Step 7: A New Color Palette
It’s no surprise to anyone that a fresh coat of paint goes a long way toward reviving a space. I wanted the bathroom to retain a light and airy vibe, so I painted the walls a soft gray, which also helps the white tiles pop as a design feature.
Step 8: Infusing Personality and Style
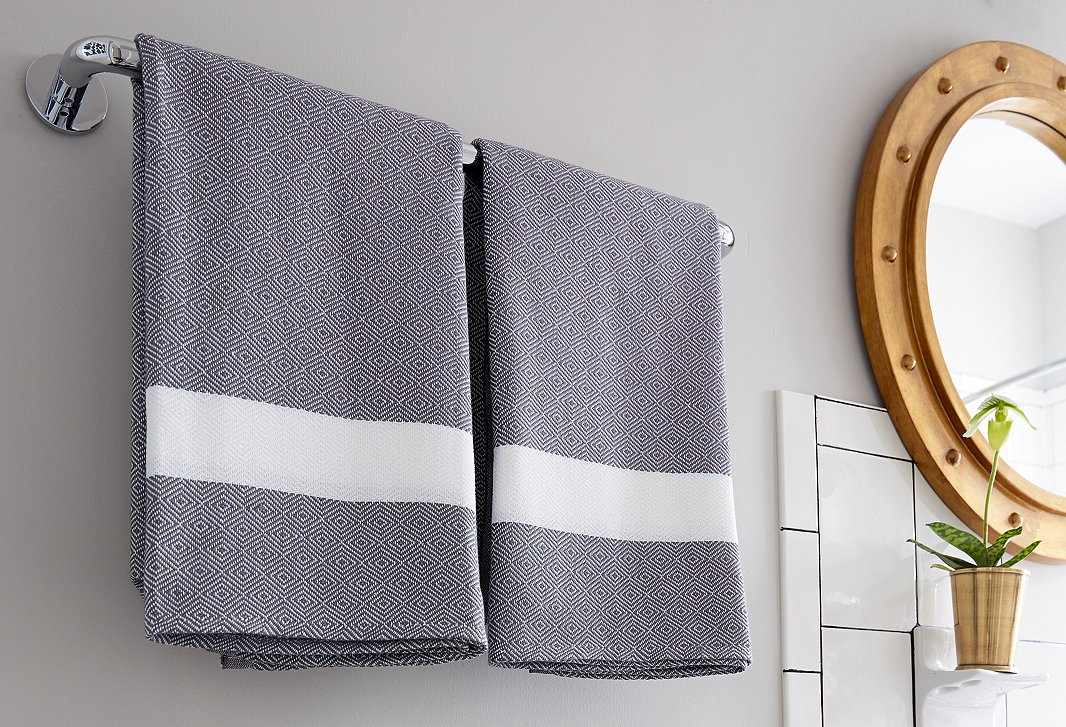
A new large round mirror above the sink gave the room some much-needed personality and creates the illusion of more space. To install the new mirror I unscrewed the door of the old medicine cabinet from the wall. With the door gone I hung the mirror right over the recessed part of the cabinet, rendering it inaccessible for daily use, but luckily we’d added storage elsewhere.
Next, I switched out the old light for this cool long-arm sconce. I feel pretty comfortable changing out light fixtures, but if you’re not, definitely hire a pro to help. Both of these simple changes are great solutions for renters! Just rehang the original light and the mirrored door when you leave.
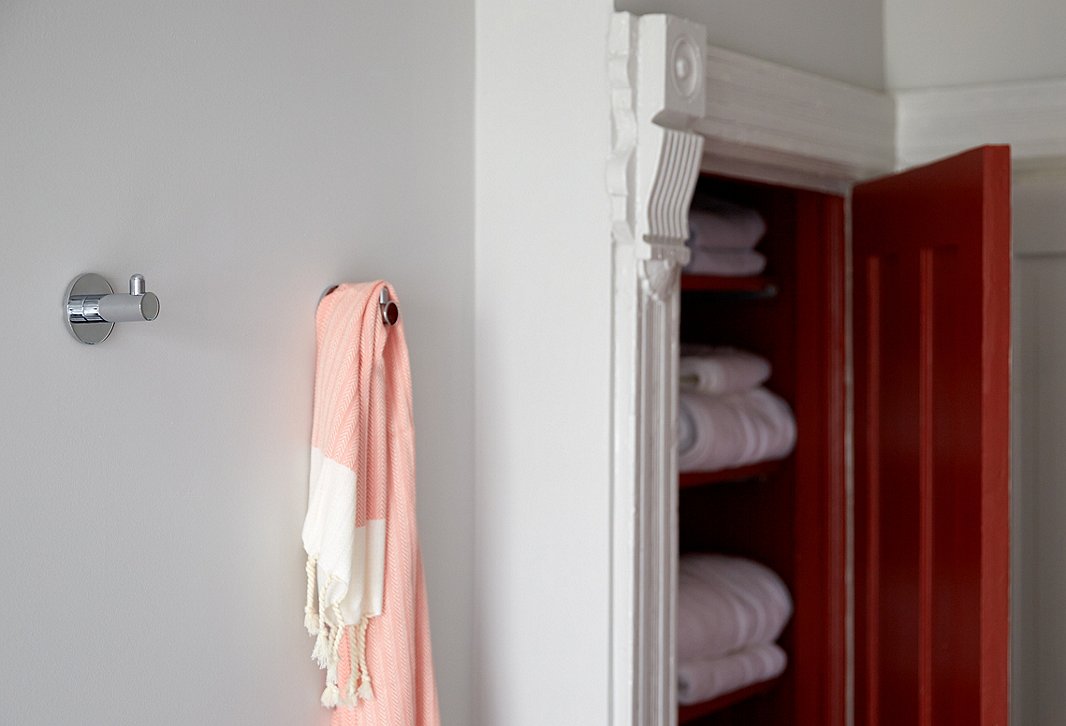
To finish things off, a couple of sleek new hooks were added to the wall for hanging towels or robes. By far the best part of the entire process was welcoming my friends to their new and improved bathroom!


this is great and super informative – I am so intimidated by updating the bathroom and this made it feel so easy. How do you suggest finding a good professional – are their questions you ask to know if you have a good refrenece?
Hi Ethan, That’s a great question! Start by asking around for recommendations by posting on social media. For the most part if someone you know had a good experience then you’re probably in good hands. Another good place to get a rec. is at your local Mom and Pop hardware store. Like any relationship the success of your project is dependent on the quality of the communication you have with your plumber. That’s why I prefer person to person recommendations over digital classifieds. Most of the time when projects go wrong its because both parties are not clear about the scope of work. A good plumber will want to visit the space before starting. After the initial visit he or she should be able to explain exactly what the project involves. This first meeting is a good indicator of how the project will go. If your not comfortable with the person after that move on. Also, I only work with subcontractors who will answer emails and texts because it makes communication much easier. Most importantly, take your time finding a good plumber. Once you have one in your Rolodex a whole world of home improvements will open up to you with ease : )
thank you megan. great advice.
Beautiful bathroom renovation. I love the wall color. May I ask the name and manufactorer of the paint you used?
Hi the paint is Farrow and Ball Cornforth white. http://us.farrow-ball. com/cornforth-white/colours/farrow-ball/fcp-product/100228
I like everything but the light. That kind of light is not very good for applying makeup or even shaving. One needs a bit more light and something more ambient. Lights that are specifically for bathrooms serve a purpose even if they aren’t quite as cute as the one pictured here. I assume this a guest bathroom as there is no real storage for makeup and other supplies. I just added a master bath (included in a huge addition ) and redid a 1939 powder room so I’ve been through the wringer on decisions.
Resource for shower curtain please.
Hi! The shower curtain is Waterworks also available on One Kings Lane.
Hi there. Can you tell me where the sink is from please. Thanks!
Hi Crystine, So the sink is from Waterworks Studio but it was discontinued a few weeks ago. Sorry, I can’t point you right to it!
I wonder if there are any still about? Can you share the name?
I believe it was called the Alden. I think your best bet to contact Waterworks directly.
I can’t help but smile when I see that the “updated” sink is identical to the original 1951 fixtures in my childhood home. And linoleum, held in distain for so long, is making a comeback, too! I guess if you’re out-of-date long enough you’re cutting edge once again.
Cannot find shower curtain at One King’s Lane…any tips?
Just stumbled on this article and I jove it! 🙂 Very inspiring!
Did you install the floor tiles/linoleum directly over the existing tile? And did you install them before or after the new sink vanity was installed?
Also, I notice a bulkhead went in over the shower. Did this have anything to do with replacing the shower fixtures or was it unrelated? thanks!
Hi . I love the renovation you did! We too, have a window in our shower like that. Right now we have a small plastic curtain hanging over it and hate it. How did you finish off your window so you don’t need to cover it? And help is welcome!
That’s a pretty gorgeous bathroom and successful DIY. The only thing I don’t like is the black painted grout. I’ve seen the look done successfully before but here it looks a little sloppy. With dark grout it can come off just looking like grimy dirty grout. (I’m wondering too if it looks that way because the tile installation just wasn’t very professional and even to begin with, meaning the dark grout just highlighted that fact.) However, taking risks is part of the DIY spirit and it could have been amazing as a number of the other projects are.
I also do echo another commenter in saying the vanity light is stylish but not practical.
Really misleading to say “contractor-free” in the title and then literally hire a contractor as step 2. Someone needs to be editing these articles a little better…