Have one or two of your friends gotten really into vintage stamps or wax sealing? Have you seen people on Twitter talking about #Penpalooza? As more people spend time inside and ponder about the current state of the world, many are turning to letter writing. In a world where we can’t cross our thresholds without fear of the outside, letters from pen pals allow people to cross state lines and even national borders without so much as leaving their chairs.
What’s more, programs such as #Penpalooza, an old-school pen-pal exchange organized by New Yorker staff member Rachel Syme, have sprung up to also support the United States Postal Service by encouraging people to buy stamps. In fact, #Penpalooza has grown so popular that it’s broken the site on which it is hosted multiple times. Almost every Sunday, Rachel calls on her thousands of followers to share the latest letters they received. What follows is a deluge of beautiful envelopes covered in interesting stamps and hand-drawn designs.
Whatever the reason people have decided that now is the time to take up letter writing, we support it. In our attempts to craft the perfect letter, we’ve come across some pretty good tips and want to share them with you. Read on to learn more about the anatomy of a well-written letter, basic calligraphy tips, and where everyone is getting those vintage stamps.
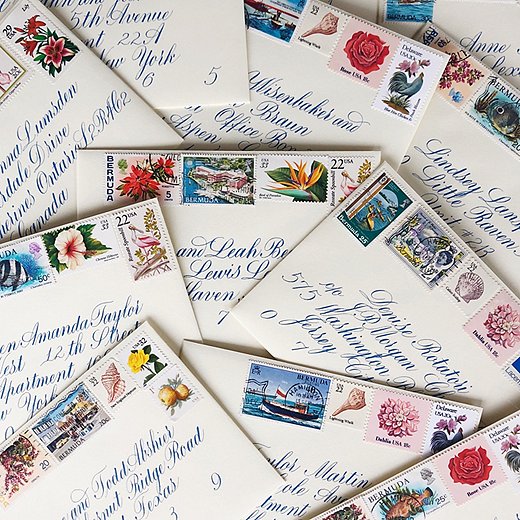
Photo courtesy of Karissa Young.
Prep
If you’re going to write a letter, you need something to write it on. Take it from us: Sturdy paper is your friend. It will make for a more attractive letter, sure, but it will also hold up better in transit and make your writing more legible. (We’ve received a few letters hastily written on thin notebook paper that were smudged and impossible to read.)
Your writing instrument is up to you. Depending on how fancy you want to go, you could invest in a nice fountain pen. (Be warned: These require maintenance and can be tricky to navigate for newbies.) Or you can go with regular ballpoint.
Optional supplies can be used for decoration, which we’ll go into more detail below. Some basic things you might want to consider picking up when you run to the craft store include washi tape, stickers, and calligraphy tools.
Shop stationery →
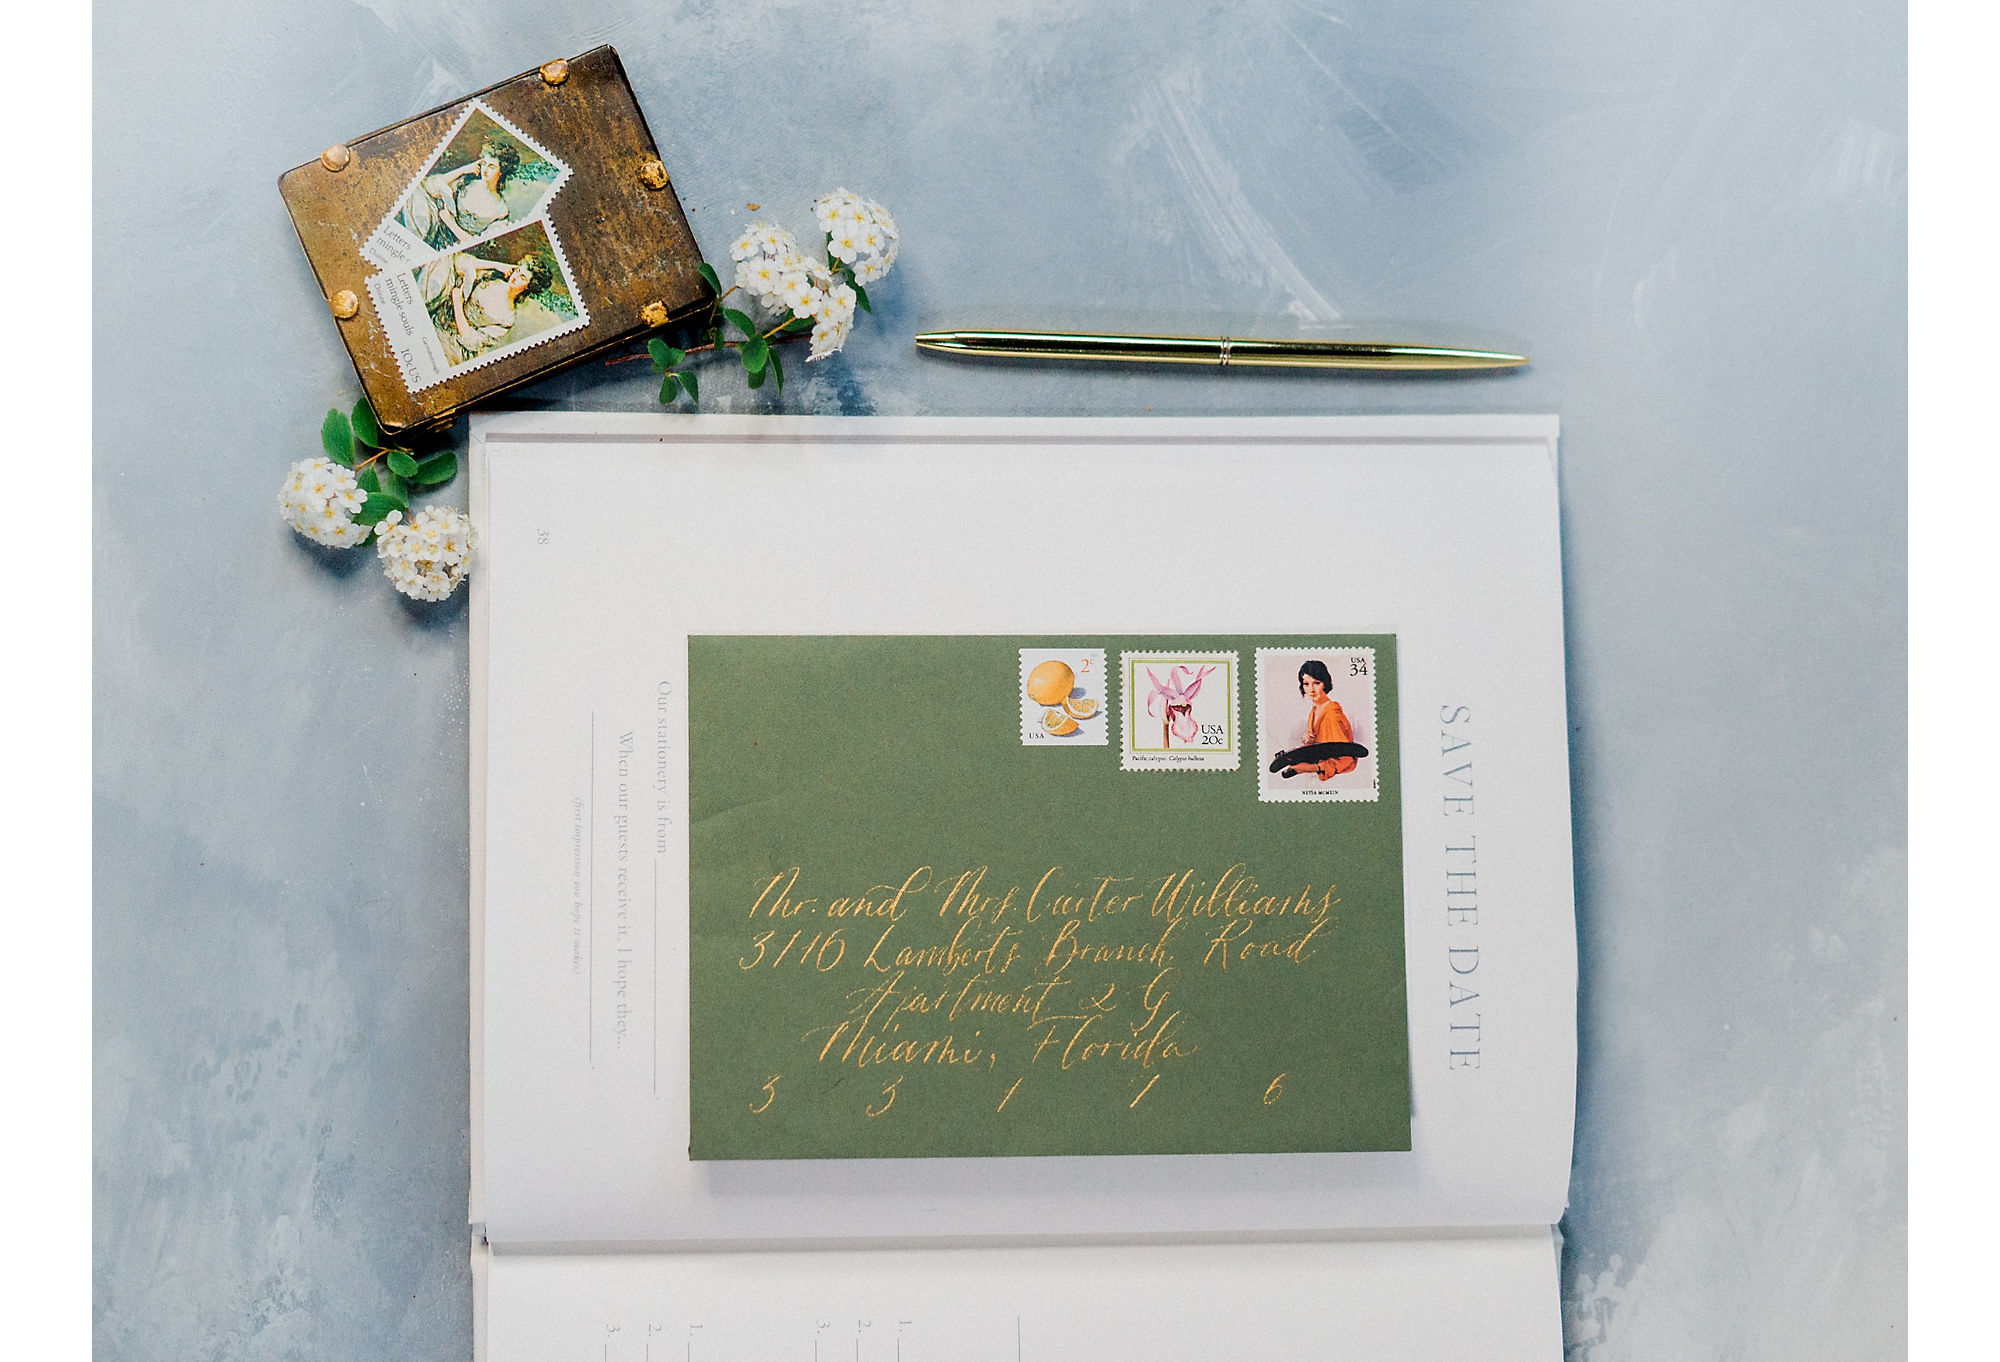
Photo courtesy of Karissa Young.
Anatomy of a Letter
The Emily Post Institute, the manners authority, says that “the best letters will share news and information, mix good with bad news, respond to the questions asked or the news shared in a previous letter, and ask about the recipient.” All of those are basic rules for any type of human communication, of course, but the institute also makes a good point when addressing security: “Include only information you would be happy for others to see.”
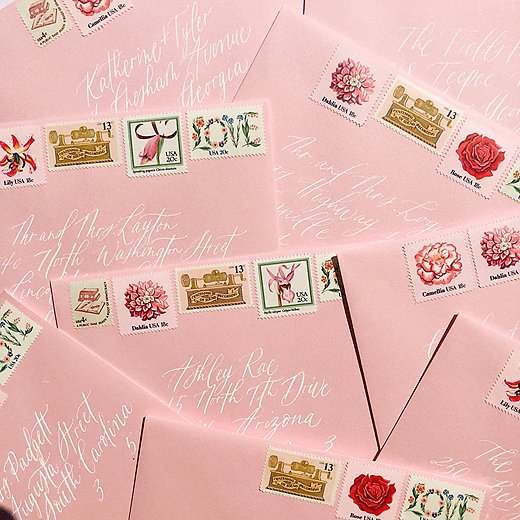
Photo courtesy of Karissa Young.
Decorating Your Letter
Perhaps the most fun part is decorating your letter. This is where you can get creative and make it feel special (but still deliverable). The most popular ways include calligraphy, vintage stamps, and wax seals.
Calligraphy. Calligraphy is an ancient art form. “My basic supplies just to sit down and mess around with haven’t changed from when I started,” says calligrapher and letter-writing aficionado Karissa Young of Pretty Written Things. Karissa turned her hobby into a job a few years ago and now offers bespoke calligraphy services. If you’re interested in learning calligraphy, Karissa suggests finding the pens, nibs, and inkwells that feel right to you and avoid buying kits . “I think a lot of people end up being frustrated” because they’re using the wrong tools, says Karissa, who adds that “good tools don’t mean expensive tools.” Popular ink wells and nibs can both cost less than $10.
Once you’ve found the right supplies, it’s time to start practicing. You want your calligraphy to be beautiful with tons of embellishments, yes, but the most important thing is that the USPS can read the name and address. Karissa suggests searching for calligraphers on Instagram whose work you admire. Often they’ll have quick and easy practice sheets you can use to hone your skills. Just don’t get discouraged: “It takes a lot of patience,” she says.
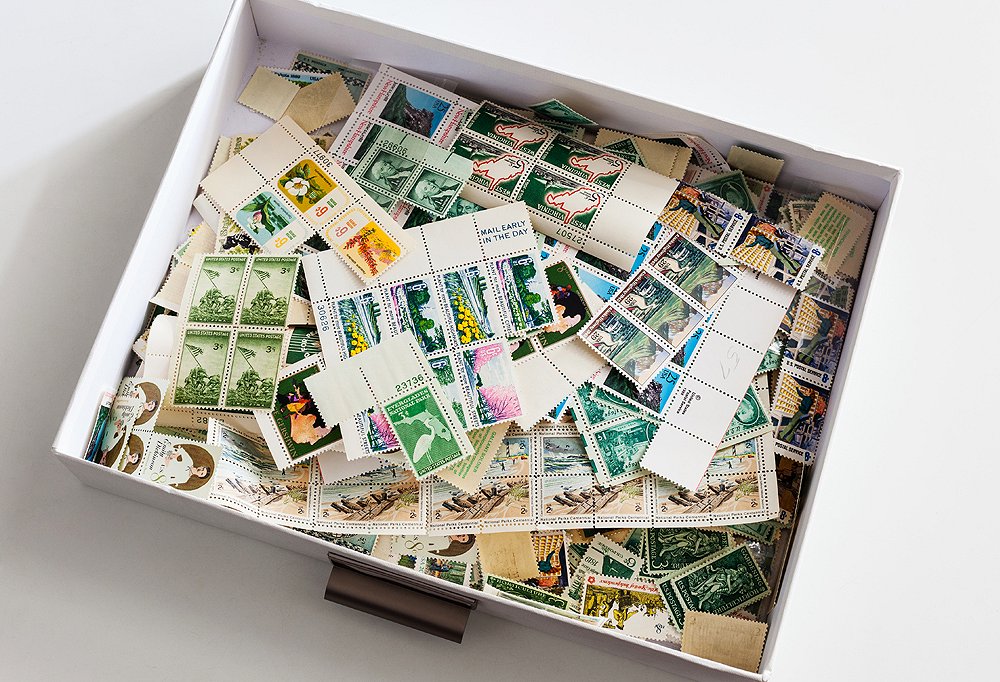
Stamps. Most people do not realize that uncanceled vintage stamps are still considered valid postage. Figure out the vibe you want for your letter and choose the colors of your stamps from there. Want it to feel like fall? Look for stamps that have burnt orange or moody yellow hues. You can also think about the motif. Stamps are mini works of art. If you want to look for stamps with changing leaves or pumpkins, odds are you’ll find them on eBay or Etsy. It’s as easy as Googling “vintage yellow stamps.” Antiques shops sometimes have a selection as well.
That said, if you want to help support the USPS, buy new stamps. The Postal Service regularly issues new designs to appeal to collectors and hobbyists. Recent series include Voices of the Harlem Renaissance, featuring portraits by artist Gary Kelley, and Flowers from the Garden, inspired by Dutch and Flemish still lifes.
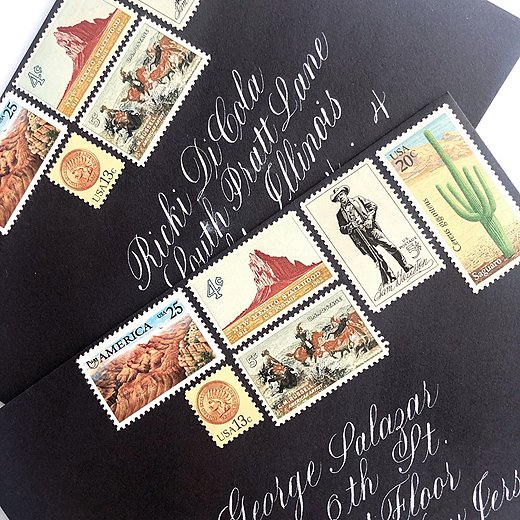
Photo courtesy of Karissa Young.
Wax seals. Are these a bit over-the-top? Yes. Are they fun? Also yes. Wax-seal kits are a relatively easy way to add dramatic flair to all your correspondence. They might seem hard to use at first, but once you get a hang of the timing it becomes a lot easier. Here is the best method we’ve found, broken down step-by-step.
- Pick your wax. You have two options when it comes to the wax you use. For wax beads, you’ll need a proper wax melting kit, which includes a votive candle, a wax spoon, and a holster. To use this method, add beads to the spoon, light the votive, and hold the spoon over the candle; once the wax is melted, pour it over the envelope. If you don’t want to invest in a kit, then a wax stick with a wick works just as well. Simply light the wick and point it down so that the melting wax falls onto the envelope. Just watch out for the flame as the wick must remain lit during pouring.
- Pick your seal. Wax seal stamps come in just about every motif you could imagine. There is a treasure trove of dealers out there; we have a few vintage seal stamps here.
- Stamp! Pour the melted wax on the paper, and then press your seal stamp down. Do not pull the stamp off until the wax is completely cool. It should be ready for removal within a few minutes. Check by touching the edge of the wax to ensure it is hard. Pulling it too early could result in a ruined design.

Join the Discussion